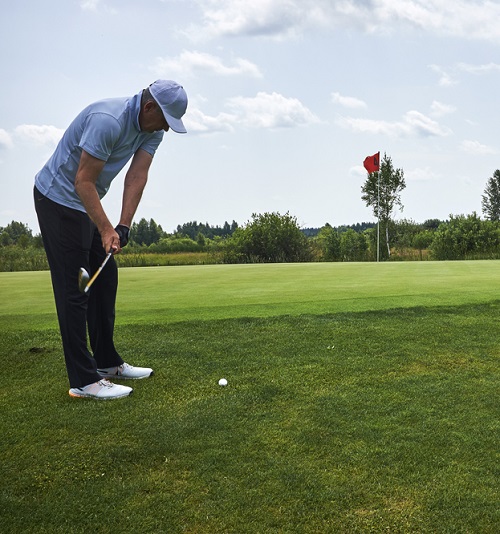
Golf Backswing: 4 Tips to Do It Right
If you pay attention on Sundays while watching the PGA Tour, you’ll see many variations of a great golf backswing.
But the truth is regardless of how unorthodox each takeaway of the swing looks, these golfers hit a few of the same check marks along the way to get the club into the correct position at the top of the backswing.
In this guide to creating the perfect backswing, we’ll look at a few areas of the body and what you need to do to build a powerful golf backswing.
Golf Backswing Tips


TIP # 1
Arms
The arms have different roles on the backswing, but both are incredibly important. By getting your arms in the correct position at the top of the backswing, you can help build swing speed by helping get the golf club on the right swing path on the downswing.
Left Arm
The left arm remains relatively straight throughout the golf backswing. As you take away the club, the left arm and the left elbow should stay fixed.
A great way to think of the left arm’s role during the back swing is to think “reach and stretch.” Once the arm is extended at the hip level, you are stretching to take the golf club back to a parallel position.
Right Arm
The right arm must stay relatively close to the body throughout the backswing. As the right elbow hinges, it needs to avoid the “chicken wing” look that gets most amateur golfers in trouble.
By keeping the right-side elbow close to the body, it makes it easier to get the golf club shaft slotted on the downswing.
PRO TIP
One of my favorite drills for my students concerns the first six inches away from the ball on the backswing. Getting the club into the right position will give you the edge in building a great backswing.
Take two golf balls, placing one on the ground in address position and then the other two inches behind the club head.
The drill is simple. As you take away the golf iron, you want the golf ball behind the club head to travel straight backward after contact. If the ball is moving either right or left, then you are going too far inside or too far outside with your takeaway.
TIP # 2
Legs & Hips
The legs and hips don’t really work in unison on the backswing as they do on the downswing, but both areas create that torque you need for building a powerful backswing.
Left Leg
The left leg moves naturally inward as the club and body rotate back, getting the left knee pointed directly at the golf ball. Many golfers will collapse the left knee, forcing it almost to touch the right knee to transfer weight, but this position causes players to stay locked behind the ball.
Right Leg
The right-side leg stays relatively anchored during the backswing with slight flex. The back leg works as a pillar of rotation, helping the lower body load the weight as the hips rotate.
You want to feel that stored energy inside the right leg. Building that powerful coil allows you to push from the right foot to explode that weight transfer through the ball to create staggering clubhead speed and generate eye-popping distance.
Hips
The hips stay relatively quiet during the backswing, but that doesn’t mean their rotation is pointless. If you want to be a more consistent ball striker, the hips need to finish the golf backswing sequence to trigger the downswing.
Feet
If you are looking for more power, anchoring your weight on the golf backswing to the rear foot helps develop the big muscles on that side. At the top, your front foot and left side should feel the weight moved away from the area.
PRO TIP
Taking two alignment sticks, take the first and place it along the inside of the belt loops in the waistline of your pants. The second should be held with crossed arms along the front shoulder line. So both sticks should be parallel to each other.
On this drill, you want to work on turning the shoulders without moving the alignment stick at the waist. The stick at the waist will eventually rotate naturally, and that’s what you want to finish the backswing.
If you are doing this right, you’ll feel the contrasting stretch between the two areas as the lower body stays fixed until the backswing naturally loads the weight over the right-side leg.
Recommended: How to Use Alignment Sticks
TIP # 3
Shoulders & Head
The shoulders stay stable throughout the golf swing, especially as we rotate the golf club into the perfect position on the golf backswing. The shoulder turn works to get the lead shoulder under the chin during this golf swing sequence.
The right shoulder should also turn higher than its counterpart to create the tilt we need in the upper body to hit the ball with downward force on the golf course.
PRO TIP
You want your head to remain as still as possible, in the same position, during the backswing.
In fact, if you are using video to improve your golf backswing or even to supplement a golf lesson, pay particular attention to how your head moves as you take away the club.
If your shoulders are rotating smoothly on the backswing and around the head, as it stays still, you should be in position to play great golf when you swing with your irons.
TIP # 4
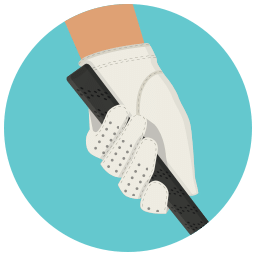
Wrists
The most common mistake amateur players make in the golf backswing usually comes from hinging the wrist too quickly or having the wrists bowed or cupped at the top position of the swing.
We encourage our students to use the flat wrist because it simplifies the golf backswing.
PRO TIP
For most golfers, the ideal backswing uses a flat wrist at the top of the backswing. The flat wrist makes it easier to start the downswing and release the wrists on the follow-through.
Also, a flat wrist makes it easy to see on video where your club face is positioned as you begin your swing path.
We also recommend you watch the video below to avoid these mistakes during your backswing:
